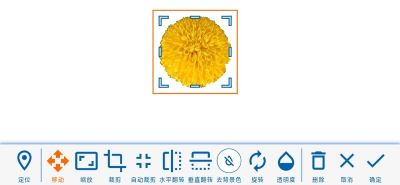
The handwritten signature and the official seal picture are all under the "Element" menu, and the element is
different from the annotation, which will be added directly to the PDF and cannot be modified after saving.
Select the "Element" menu and a toolbar will appear on the top of PDF page.

After clicked the icon ![]() to enable the mode, and then click on the
position in the PDF that needs to be inserted, and a pop-up window will appear, and the handwriting tablet on
the upper part of it can be used for handwriting.
to enable the mode, and then click on the
position in the PDF that needs to be inserted, and a pop-up window will appear, and the handwriting tablet on
the upper part of it can be used for handwriting.
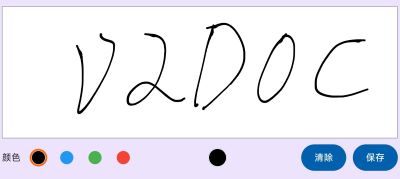
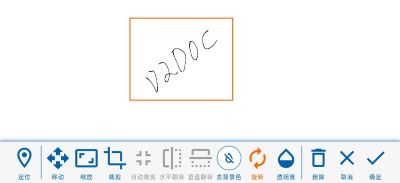
After inserting a handwritten signature, you can also re-select the signature color and move settings such as
position, cropping, auto-cropping, rotation/flip direction, transparency, and more.
After clicked the icon ![]() to enable the mode, and then click on the
position to be inserted in the PDF and select the image of the official seal.
to enable the mode, and then click on the
position to be inserted in the PDF and select the image of the official seal.
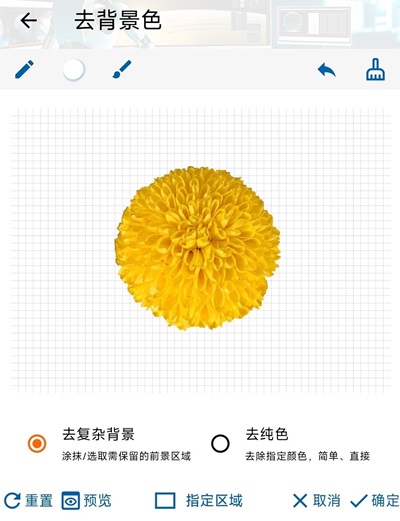
Remove the background
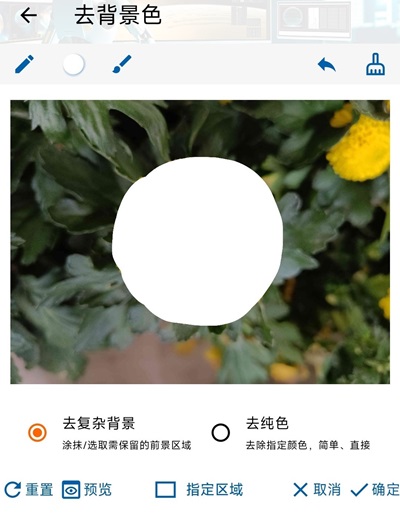
If a company seal picture has background, you can click the icon ![]() to
remove the background manually.
to
remove the background manually.



Elements are added to the PDF sequentially according to the layer settings, so layers are overwritten from layer to layer.


You can copy objects to: All Pages, Odd Pages, Even Pages, Specific Pages. The page numbering rules for
the specified pages are as follows:
Single pages are connected with ",", e.g., "1,3" indicates the first and third pages.
The range is connected by "-", for example, "1-3" means that the first page to the third page have a
total of 3 pages.
The above two can be freely combined and connected with ",", e.g., "1,3-5" means the first, third to
fifth pages.
If the image has a transparent background (e.g. PNG format), click the icon ![]() will auto-crop the image by removing the transparent border.
will auto-crop the image by removing the transparent border.
